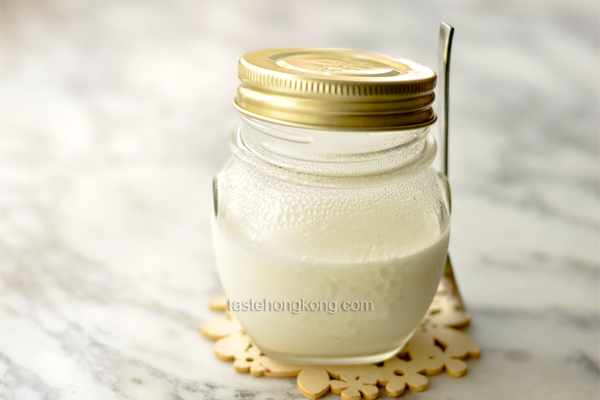
I’m partial to my thermal cooker when it comes to making yogurt at home. It is simply a pot, also a big vacuum flask that can cook and keep warm for hours without using power. I have been using it for cooking soups, congee, desserts. But it has also proved to be a convenient place for nurturing beneficial bacteria.
Most of the time, I make 250 to 500 ml yogurt with the cooker though it could hold up to 2-3 liters. I often don’t need a larger batch because this double boiler method always keeps the cleaning to a minimum so I don’t mind making it more frequent and enjoy the freshest yogurt (I eat warm yogurt too) every time.
I skip using a saucepan to heat the milk directly, but set the jar (the same one used for fermentation) of milk inside its inner pot with water, and heat it until the temperature of milk reaches the desired temperature.
And the milk won’t burn, so constant stirring is not required.
But like using other incubators (crock pot / slow cooker, or oven, or dehydrator) you still need a heat-proof glass container, a cooking thermometer, a tong and a spoon. Plus, sterilize everything that may come into contact with the milk and yogurt culture.
Why not heating the milk to higher temperatures?
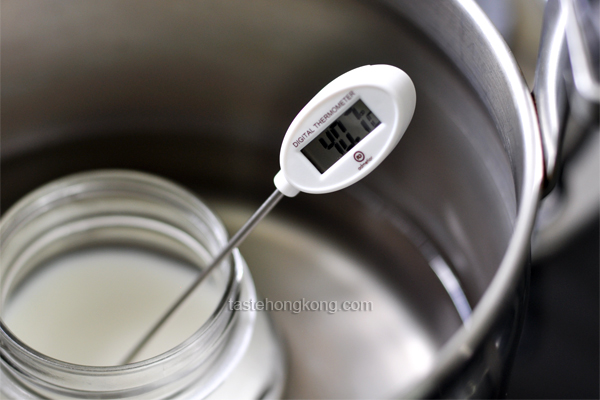
Yes, I only warm the milk until its temperature reaches 40 to 45 degree C because the milk I used is from the supermarket and it is pasteurized.
But with a non-commercial milk (I’ve yet to try), you need to change the milk proteins so that they set together rather than to form curds and whey.
(source: The National Center for Home Food Preservation)
If you have any doubt about the milk or you want to re-pasteurize it, heat the milk to about 80C and let cool to about 40C before proceeding to adding the starter.
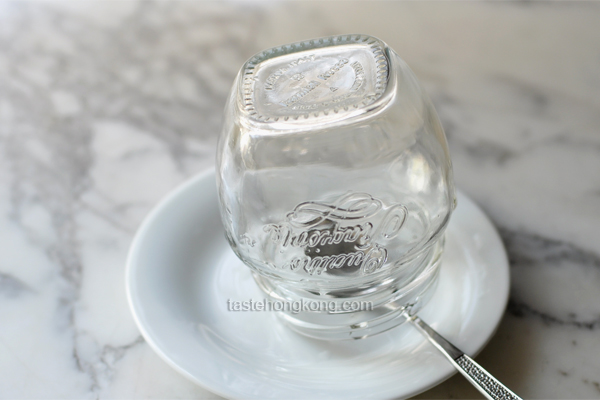
Air-drying …
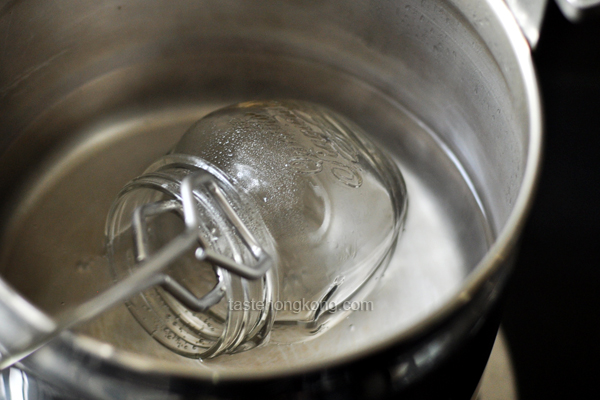
Drained well, it should take only minutes to dry the jar which has just been scalded in boiling water. But make sure it is also cool enough to touch.
- Ingredients
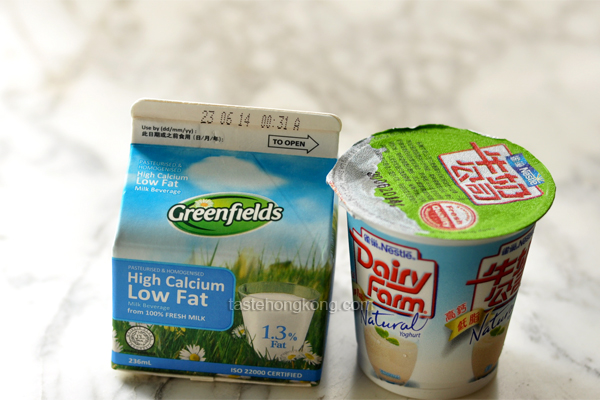
- 250 ml low or full fat pasteurized milk
- 1 tbsp plain yogurt (with live culture) as starter
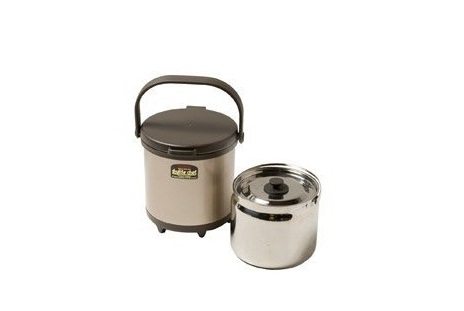
- Tools
- thermal cooker like the above
- spoon
- cooking thermometer
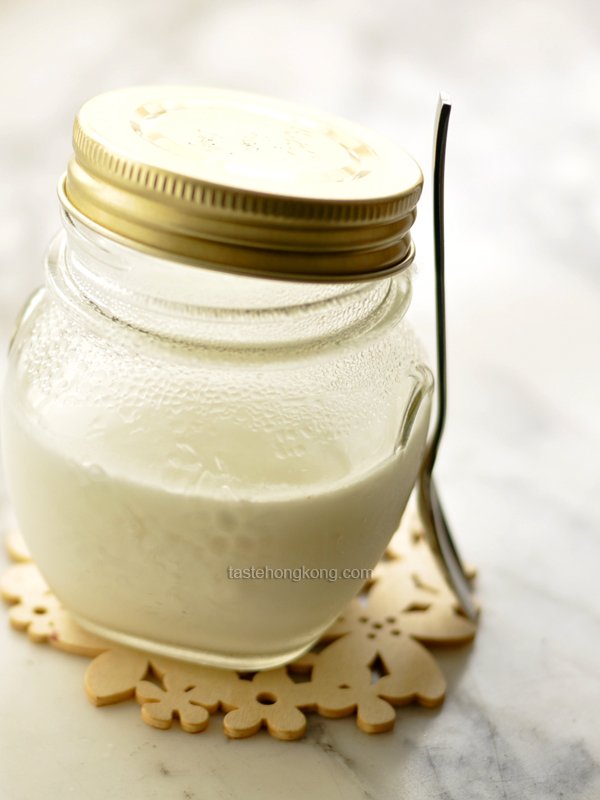
Method
Sterilize utensils
Disinfect containers and utensils in boiling water. I fill a few cups of water in thermal’s inner pot, bringing it to a boil. Sterilize the spoon and thermometer (the section for measurement) in the water. Then boil the glass jar in the same pot of water, turning and removing it with a tong. Alternatively, you may also pour boiling water into the jar (I’d put it in the sink first).
Fan dry or air dry the jar. You may as well dry it in an oven at about 100 degree C for a few minutes. Also dry or wipe clean the spoon, the thermometer, and the lid.
Let cool (warm will be fine) the jar if it has just been heated in the oven. Meanwhile, let the milk and yogurt starter sit at room temperature; this will cut down the time for warming up the milk.
Warm the milk
Pour milk into the glass jar, reserving about 1 table spoon. Now get the inner pot ready on stove; place the jar of milk in it and fill water in the pot to the level near the height of milk, being careful not to splash in any water into the jar.
Heat the pot of water with the jar of milk over low heat, monitoring the temperature with a thermometer at the same time (I reserved the hot water used for sterilizing, keeping it warm in the thermal, so heating time required is minimal).
Add starter
Mix yogurt starter with remaining 1 table spoon of milk, stirring until lumps are dissolved (Using the milk box, I add and dilute the starter with the reserved table spoon of milk) .
When the thermometer reads above 40C (I find it fine between 40C to 45C), give the jar of milk a good stir to make sure the temperature is uniform. Stir in the starter mixture, also making sure it is distributed and the temperature is within the range.
If you find it more convenient to heat the milk in a saucepan, do so. But you may want to heat the milk closer to 45C or it will cool further when you transfer it to a glass jar for fermentation.
Incubate and wait
Remove from heat, but without allowing it to cool further, and gently transfer the pot into the outer pot. Cover the jar and inner pot with lids (I used a small ceramic dish to cover my jar).
Incubate the yogurt for 7-8 hours, undisturbed.
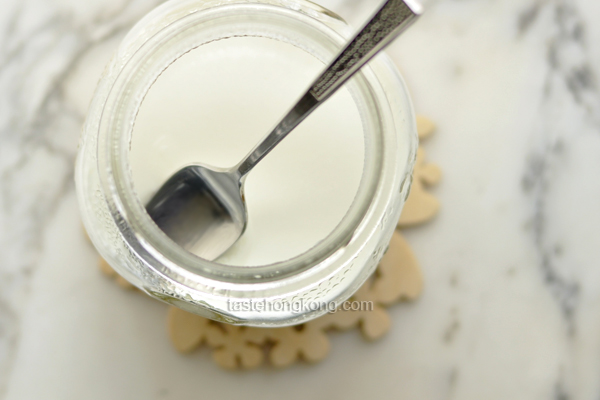
Enjoy!
Tips
The live cultures in yogurt are bacteria, which can be affected (killed) by any soap residue on the container or utensils. Therefore make sure they are rinsed clean before sterilizing.
When heating the milk, you may want to stir it occasionally to prevent a skin from forming.
Incubate yogurt in warm steady environment, do not disturb it during fermentation.
I tried both full fat and low fat milk, and they turned out pretty similar. However, I would say the yogurt is a bit thicker from the full fat version.
I like adding fresh fruits, honey, pinch of salt to my homemade yogurt (warm or chilled), but every time I’d sample taste before flavoring it further.
- Category: Diary Product .
- 8 comments
To get immediate updates and new recipes from my blog, you may also SUBSCRIBE them via RSS feeds. See you there.





[…] Homemade Cottage Cheese without Rennet […]
wow! I think my thermal cooker is not being used to the best of its ability (besides for cooking soup, how boring right). Hope to try yoghurt making using your recipe someday 🙂
Other than time and patience, it is still time and patience. Must be so satisfying to indulge in homemade yogurt 🙂
Plus, enjoying the health benefits of probiotics (live culture) in the yogurt.
Hi there, its been awhile since my last visit. Life has been pretty hectic. Ooo…. I did the similar method like yours as well by using the thermal cooker. It works well.
Enjoy your day.
Blessings, Kristy
Such a great idea using the thermal cooker to make yogurt…I have one that my mom gave me and I always feel that I not using it enough, to its full capacity.
Thanks for the recipe and the tips.
Enjoy the rest of your week 😀
Since moving to China, I haven’t found any good store-bought yogurt, so I’ve started making my own like you, and loving it! I actually make it in the rice cooker. I heat the milk in a pot, then pour it into the rice cooker inner pot. The rice cooker works really well as an insulator.
hi maureen. i do not have a thermal cooker but thanks for explaning how to go about making yogurt out of it. Have a good weekend!